
| Sections / What to expect 🍳 | Key notes / Quick wins ✨ |
|---|---|
| Perfect Poached Eggs for Eggs Benedict | Use a fine strainer, gentle simmer, vinegar; poach ahead ✅ |
| Foolproof Blender Hollandaise Sauce | Hot melted butter + slow drizzle into yolks — blender shortcut 🔁 |
| Make-Ahead and Timing Strategy for Brunch | Poach & chill; hold hollandaise in warm water; toast at last minute ⏱️ |
| Peameal Bacon, Substitutes & Flavor Pairings | Peameal = tender pork loin in cornmeal; swaps: smoked salmon, spinach 🥓🐟 |
| Plating & Visual Styling for Eggs Benedict | Design-forward stack, negative space, garnishes for contrast 🎨 |
The following sections focus on technical clarity and visual restraint for a home-cooked Eggs Benedict that reads like editorial food photography. Each part treats a technical element as a mini-lesson: how to poach eggs reliably, how to coax a stable Hollandaise from a blender, how to stage make-ahead steps when hosting, how peameal bacon behaves at the pan, and how to compose a plate that looks deliberate. The voice here is practical and design-aware — cooking is a craft of materials, timing and restraint.
Perfect Poached Eggs for Eggs Benedict: reliable poaching technique and timing
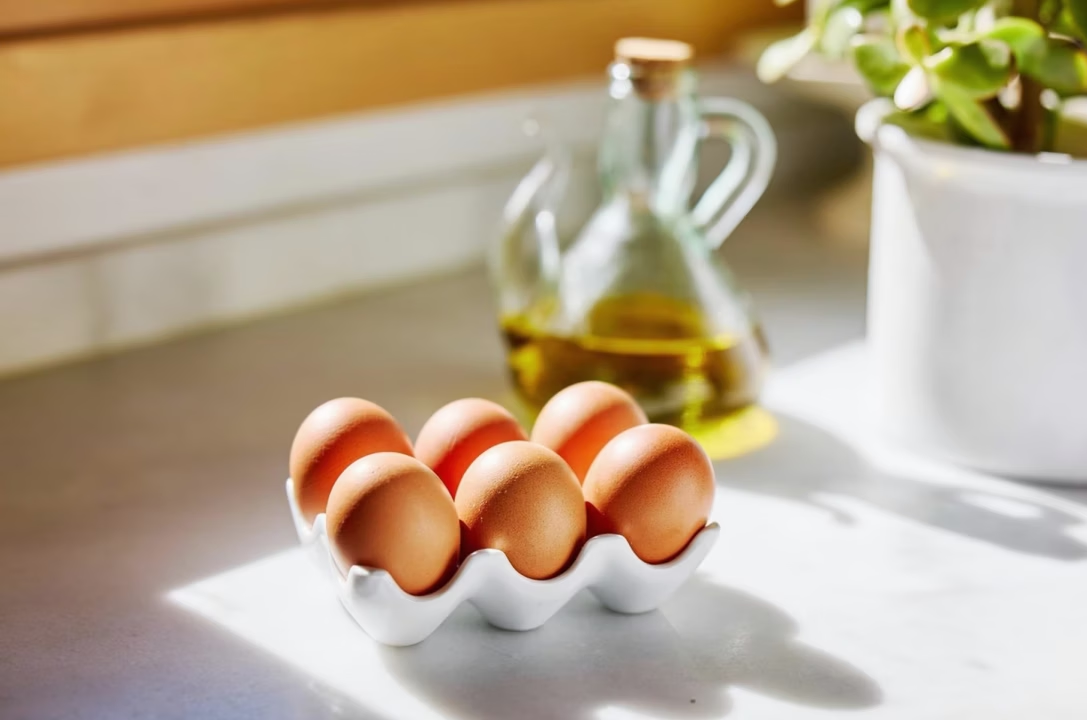
Poaching is the technical heart of Eggs Benedict; a good poached egg is tidy, tender, and offers that iconic yolk cascade when cut. The approach that consistently works in busy home kitchens combines three small interventions: strain the egg before it hits the water, use a gentle simmer with a splash of vinegar, and finish with an ice bath if poaching ahead. These steps convert an intimidating technique into something reliably repeatable.
Problem: wispy whites and lost shape
Egg whites often develop fine, stringy tails or spread too thinly in the simmering water. The easiest preventative is a fine mesh strainer. Crack each egg into the strainer and give it a light shake so the very watery portion of the white drains away. The remaining viscous white will cling to the yolk and cook into a compact shape. This small mechanical step saves time and reduces cleanup; it is the difference between a presentable egg and a drifting ghost of white.
Solution: water chemistry and movement
Fill a wide, low pot with water and bring it to a gentle simmer — look for tiny bubbles breaking the surface, not a rolling boil. Add roughly 1 tablespoon of white vinegar per 4 cups of water. The acid helps the proteins in the white coagulate more quickly. Before dropping an egg, stir the water to create a slow whirlpool; this gathers the white around the yolk and encourages a round form. Slide the egg in from a small bowl or ramekin to avoid splashes and to keep control when poaching multiple eggs.
Timing and texture
For a tender white and runny yolk, aim for a 3–4 minute cook at a steady simmer. Two minutes yields a very soft white and an almost raw yolk; five minutes creates a more set yolk. After the allotted time, transfer each egg with a slotted spoon to an ice bath to halt cooking if the eggs are being prepared ahead of service. Refrigerated in the ice bath, poached eggs will keep for up to 16 hours, which is a crucial discovery for relaxed brunch hosting. Reheat by slipping them back into simmering water for 90–120 seconds just before plating.
Practical examples and a host scenario
Consider a host named Mina — a product designer who now stages weekend gatherings with an obsessive eye for iteration. For a twelve-person brunch, Mina poaches eggs in two batches the night before and stores them in the ice bath. On the morning, the eggs are reheated and plated while the Hollandaise is blended in under five minutes. This divide-and-conquer strategy turns a fraught brunch into a composed one.
Key takeaway: strain first, simmer gently, and use an ice bath — the trifecta that makes poaching predictable and scalable.
Foolproof Blender Hollandaise Sauce for Eggs Benedict: emulsification without a whisk
Hollandaise is often described as temperamental, but a blender transforms it into an accessible, consistent emulsion. The technique trades manual patience for controlled heat and rhythm: warm the butter until hot and foamy, then, with the blender running, stream the hot butter into the yolks. The blender’s speed and the thin drizzle do the work of a whisk and bain-marie, producing a glossy, stable sauce fast.
Why blender Hollandaise works
Emulsions require dispersed fat droplets in a continuous water phase, stabilized by lecithin found in egg yolks. Heat helps the yolks thicken just enough to trap the fat. By melting butter to a high temperature and introducing it slowly while the blender shears and folds, the yolk proteins capture the oil into microscopic droplets. The result is a smooth, velvety sauce in minutes, not an hour.
Step-by-step blender method
- Place egg yolks, lemon juice, a dash of Worcestershire, and a few drops of hot sauce into the blender.
- Blend briefly to aerate and warm the yolks.
- With the blender on low, slowly pour hot melted butter in a very thin stream. Continue until glossy and thick.
- Adjust seasoning and keep the sauce in a warm bowl or thermos until service.
Working example: when tested in a home kitchen, this method held for about an hour when kept over warm (not boiling) water. For longer holds, a thermos works well; refrigeration will cause separation.
Troubleshooting and fixes
If the sauce breaks (appears oily or separated), rescue it by whisking one fresh yolk and a teaspoon of room-temperature water in a clean bowl, then slowly whisk in the broken sauce drop by drop until it re-forms. This classic reset leverages fresh lecithin to re-emulsify the fat.
Flavor calibrations
Lemon juice brightens and stabilizes. A pinch of cayenne or a few drops of hot sauce simplifies seasoning across a large batch. For a smoky variation, blend in a touch of adobo paste or finish with smoked paprika. The blender approach makes these shifts trivial: one can maintain consistent texture while experimenting with flavor.
Key takeaway: hot butter + slow drizzle + blender is the reproducible shortcut to a salon-quality Hollandaise in most home kitchens.
Make-Ahead Strategy for Eggs Benedict for a Crowd: staging, holding, and timing
Hosting a relaxed brunch requires planning the movements of elements through time and temperature. The parts of Eggs Benedict—English muffins, peameal bacon (or substitute), poached eggs, and Hollandaise—have different holding windows. Treat each component as a layer in a small production line; stage them so that final assembly takes five minutes. This section outlines a realistic schedule that turns stress into choreography.
Staging and holding matrix
| Component 🍽️ | Make-ahead window ⏱️ | Warm-hold method 🔥 |
|---|---|---|
| Poached eggs 🥚 | Up to 16 hours refrigerated in ice bath | Reheat 90–120s in simmering water before plating |
| Hollandaise 🧈 | Make 30–60 minutes ahead | Keep over warm water or in thermos; do not boil |
| Peameal bacon / ham 🥓 | Cooked same day or reheat briefly | Hold in low oven (250°F / 120°C) on sheet pan |
| English muffins 🥯 | Split ahead | Toast at last minute; keep split in covered dish |
Practical timeline for 8 guests
Evening before: poach eggs, cool in ice bath and refrigerate; clarify or melt butter. Morning of: warm hollandaise just before service; grill peameal bacon and move to low oven to hold; split muffins and toast seconds before plating. For service, reheat the poached eggs in simmering water in two batches and assemble in a steady line.
Small hosting tricks
- 🔁 Use a thermos for Hollandaise to maintain warmth without risk of overcooking.
- 🧊 Keep an ice bath ready to reset texture if something cooks too long.
- 🍋 Add lemon increments to Hollandaise at the end — small adjustments read well on the plate.
- 🕰️ Time the toasting to the last five minutes so the base is crisp.
A single host once saved a holiday brunch by rearranging the timeline: poached eggs the night before, hollandaise blended in under five minutes at the stove, and muffins toasted as guests sat. The key insight was that most perceived difficulty is a timing problem, solvable by staging.
Key takeaway: poach ahead and rehearse the final five minutes — that’s the hospitality trick that keeps the host at the table with guests.
Peameal Bacon for Eggs Benedict and Savory Substitutes: texture, sourcing, and pairings
Peameal bacon is a Canadian classic often used in Eggs Benedict for its lean, tender texture and cornmeal crust. It is pork loin rolled in cornmeal, which gives a delicate resistance under the bite — not as crisp as streaky bacon, but perfectly complementary to the silk of an egg and sauce. Understanding how peameal behaves in the pan clarifies when to choose it or a substitute.
Cooking peameal vs other cures
Peameal cubes or slices sear quickly and should be cooked on medium-high heat for about 1.5–2 minutes per side until golden. Because it lacks the fat of streaky bacon, it won’t render much oil; a little butter or oil in the pan helps obtain a pleasing crust. By contrast, regular bacon renders and crisps, adding a crunchy counterpoint. Smoked salmon, used in Eggs Royale, introduces briny, silky texture and requires no cooking. For a vegetarian option, wilted spinach or sautéed mushrooms add umami and a textural base.
Pairing and balance
Peameal’s lean saltiness pairs especially well with the richness of Hollandaise because it provides a counterpoint without overwhelming the plate. When swapping to smoked salmon, consider reducing added lemon in the Hollandaise to avoid making the fish taste overly acidic. With spinach, add a little nutmeg to the wilt to give depth and prevent the plate from leaning too buttery.
Sourcing and substitutions
Peameal is increasingly available at specialty butchers and some larger supermarkets. If it is not accessible, use back bacon or a thick slice of ham warmed and caramelized in the pan. For a crowd, par-cook and hold in a low oven. The substitution decision should be guided by texture: choose something that provides structure beneath the egg so the spoon-and-cut action yields a tidy bite.
Key takeaway: match texture, not just flavor — peameal brings tender structure; choose substitutes that preserve that role on the plate.
Plating and Visual Styling for Eggs Benedict: design-forward presentation and garnishes
Eggs Benedict is inherently photogenic, but the goal in a design-forward kitchen is to make it feel intentional, not fussy. Start with a neutral plate and leave negative space. The stack should be tidy: toasted muffin base, peameal or substitute, centered poached egg, and a generous spoonful of Hollandaise that forms a glossy cap and a gentle cascade. A fine sprinkle of chives or a pinch of smoked paprika provides color contrast and a focal point for the eye.
Composition principles
Think like a product designer: prioritize hierarchy and rhythm. The base must be visible to anchor the image; the egg is the hero; the sauce is the supporting actor. Align multiples on a rectangular platter for a rhythmic spread, or plate singles with generous negative space when photographing. Use props sparingly — a folded linen napkin in a complementary hue is enough to suggest context without stealing attention.
Garnish with intent
Choose garnishes that add a textural or flavor note. Fresh chives introduce a clean onion lift and graphic green. Smoked paprika offers warmth and a color pop against pale Hollandaise. Microgreens can introduce verticality but use them sparingly so they read as signal rather than clutter. For a modern twist, a small spoonful of pickled shallots at the side adds a vinegar counterpoint that cuts the richness.
Serving ideas and pairings
- 🍊 Fresh fruit salad for acidity and color contrast.
- 🥔 Crisp breakfast potatoes for textural balance.
- ☕️ A bright, medium-roast coffee to cut through fat.
- 🥂 Sparkling wine for celebratory brunches.
Key takeaway: arrange with purpose — hierarchy, negative space and a single bright garnish make Eggs Benedict feel both calm and celebratory.

Hi, I’m Landon Brooks. I am the editor-in-chief of Cook and Design, but for the first decade of my working life I was actually a product designer in New York.


6 Comments
Landon, your hollandaise method mirrors a clean merge—slow integration, stable results. Saving this for Sunday brunch.
The strainer step is a smart pre-filter; it removes the watery albumin for consistent drag. Precision matters.
Great breakdown of the poaching and hollandaise steps. Makes me want to plan a neighbourhood brunch — practical and community-building.
Landon, your timing strategy optimizes the brunch workflow like a good data pipeline – parallelize the hollandaise, batch the eggs.
The vinegar technique is pure precision—like adjusting shutter speed for the perfect capture. Ice bath tip appreciated!
A poached egg is just a circle — the rest is typography.
Les commentaires sont fermes.